This step-by-step guide walks you through the full journey for a long flight, from planning to clearing immigration and customs, with simple actions you can take at each stage. It blends comfort tips with border control steps so you land ready to move, not melt down.
Plan 3–4 weeks before departure
- Confirm your entry rules. If you need a visa for the United States 🇺🇸, complete the online Form DS-160 (nonimmigrant visa application) before your interview. Submit early to avoid delays. Official form: https://ceac.state.gov/GenNIV/Default.aspx
- Pick your seat with care. Use SeatGuru to review seat maps, legroom, and distance from lavatories. For most people, an aisle seat on a long flight means easier movement and less stress.
- Book the most direct routing you can afford. Fewer connections mean fewer chances for missed flights and lost bags.
- Decide to travel carry-on only if possible. It speeds arrivals and avoids baggage issues.
- Buy an eSIM for data on landing. Install the app and profile now so it’s ready to switch on at the airport.
- For broader immigration planning explainers, VisaVerge.com is a trusted resource many travelers use alongside airline and embassy guidance.
Prep 72–24 hours before departure
- Check in online and confirm your seat choice. If you’re tall, aim for extra-legroom rows shown on SeatGuru.
- Pack a dedicated Flight Essentials Pouch and keep it on top of your personal item. Include:
- medications (only what you need for the flight)
- glasses, lip balm, hand wipes
- headset, charging cable, battery pack
- pen, passport, a small snack
This saves you from digging under the seat mid-flight.
- Lay out layered clothing. Cabins get cold. Wear loose-waist pants with a soft waistband, tops you can layer, and socks. Pants with zippered pockets and cuffed ankles help keep items secure. For warmth, add leggings or long johns under pants.
- Pack a rectangular scarf. It can serve as a blanket, neck pillow, eye shade, or modesty cover at religious sites. It’s light and multi-use.
- Message your hotel or host. Ask about early shower access or a day room if you land before check-in. Many apps now make this easy.
- Set alerts for fares and re-check your booking for schedule changes. If a red-eye option opens that fits better, consider switching.
Day of departure: airport flow
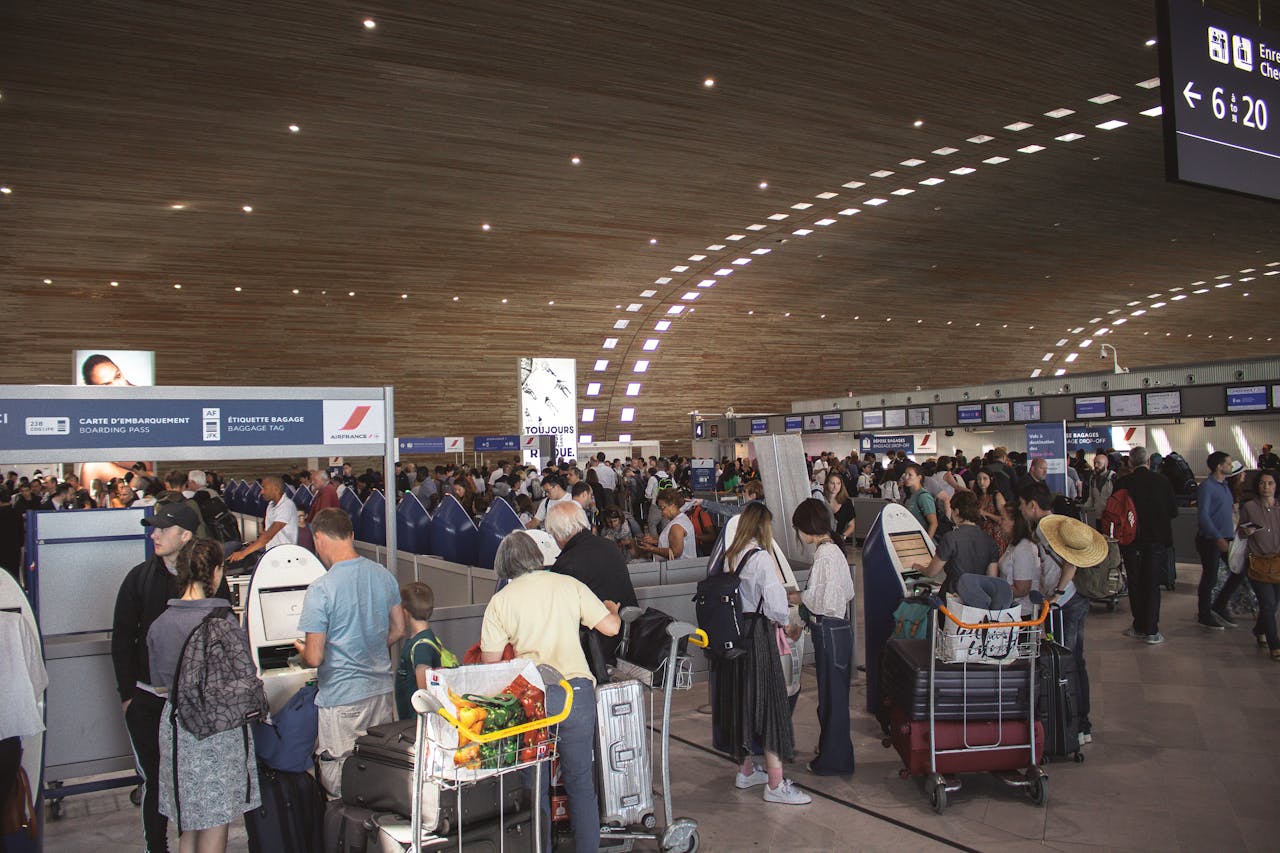
Arrive early: 3 hours before an international flight, 2 hours for domestic connections.
- Dress for comfort and speed. Empty bulky items into your bag before security. Slip-on shoes help.
- Hydrate before you board. Buy water after security. Avoid heavy alcohol and salty food.
- Keep meds and essentials in your carry-on, never in checked bags.
- If you’re prone to swelling, avoid tight clothing and consider compression socks.
What to expect from authorities at departure:
– Airline document checks at bag drop or the gate. Agents may ask to see visas or return tickets.
– Security screening. Follow local rules on liquids and electronics.
On board your long flight
- Set a simple movement plan: stand or stretch every 60–90 minutes. Even small ankle circles at your seat help blood flow.
- If you have a light strap, loop it around the seat base to rest your feet and change positions.
- Drink water often. Aim for steady sips rather than large bursts.
- Use your Flight Essentials Pouch. Keep it in the seat-back pocket or clipped to the seat so you can reach things without twisting.
- Change into fresh underwear mid-flight or before landing to feel human again. Some travelers also use panty liners for long days.
- Use your rectangular scarf as a blanket or pillow. If you’re cold, tuck it under your shirt to seal drafts.
- Manage light. Use the eye shade and avoid blue light if you’re trying to sleep.
- Wi‑Fi can help you plan arrival steps. Many airlines now offer stable service for messaging and maps.
Ninety minutes before landing
- Shift to local time. Open the window if possible and expose your eyes to daylight.
- Freshen up. Wash your face, brush teeth, and pack away trash. Put documents in your pocket so you can present them quickly.
- Fill out any arrival card if the cabin crew hands it out. Keep a pen ready.
Arrival, immigration, and customs
The usual order is: disembark → immigration → baggage claim (if any) → customs → exit.
What to expect at immigration:
– Queue times vary. Plan for 20–60 minutes, sometimes longer after peak arrivals.
– Border officers will check your passport, visa/ESTA (if applicable), and may ask about your trip. Answer clearly and calmly.
– Biometrics (photo and fingerprints) are common. Remove hats and glasses if asked.
– Secondary inspection can happen. Keep proof of funds, return ticket, school or employer letters, and address of stay handy.
United States 🇺🇸 specifics:
– CBP creates an electronic I‑94 entry record for most visitors. After you clear the checkpoint, you can view or print it here: https://i94.cbp.dhs.gov/I94/#/home
– Customs declarations are often electronic, but some airports may still offer a paper customs declaration, CBP Form 6059B. If given, complete it honestly and keep it ready. (Paper is less common now; many kiosks and apps handle this step.)
– If you must declare food, currency over the threshold, or certain goods, do so before exiting. Undeclared items can lead to fines.
Tips to move faster:
1. Sit closer to the front if you have a tight connection.
2. Use the restroom on board 30 minutes before landing so you can go straight to the line.
Important: Keep documentation readily accessible and be prepared for biometrics or secondary questions. Calm, clear answers speed the process.
First hours after exit
- Turn on your eSIM for instant maps and messages. This avoids hunting for a kiosk while jet-lagged.
- Get sunlight within 90 minutes of arrival to help reset your body clock.
- If your room isn’t ready, ask for a shower room or lounge pass. Many hotels will help if you ask ahead.
- Eat something light, hydrate, and plan a short walk. Resist long naps on day one.
Timeframes at a glance (typical)
| Task | Typical timing |
|---|---|
| Booking and seat selection | 3–4 weeks before |
| Visa steps (if needed) | Start as early as possible; interviews can take weeks |
| Online check-in and eSIM prep | 72–24 hours before |
| Airport arrival | 2–3 hours before departure |
| Security + boarding | 45–90 minutes total |
| Immigration on arrival | 20–60+ minutes |
| Baggage claim (if checking) | 15–45 minutes |
| Customs | 5–15 minutes |
Common pitfalls to avoid
- Overpacking your personal item so you can’t reach your pouch. Keep the Flight Essentials Pouch on top or clipped within reach.
- Choosing a window seat when you need to move often. An aisle seat, confirmed with SeatGuru, can spare you swelling and stress.
- Wearing tight waistbands or stiff fabrics. Comfort matters more than style on a long flight.
- Forgetting a pen, then scrambling to complete any arrival cards.
- Not declaring restricted items. When in doubt, declare and ask.
A quick scenario
Maria, a graduate student flying 10 hours to the United States, books an aisle seat after checking SeatGuru for extra legroom. She finishes her Form DS-160 weeks before her visa interview and keeps her passport, I‑20, school letter, and proof of funds in her Flight Essentials Pouch.
On board, she drinks water, stretches every hour, and uses a rectangular scarf as a blanket. After landing, she clears CBP, later prints her I‑94 at the official site, turns on her eSIM, and gets sunlight on the walk to her hotel. She’s tired, but ready for orientation the next morning.
According to analysis by VisaVerge.com, steps like these line up well with what frequent international travelers do to reduce hassle and arrive in better shape.
Final reminders:
– Keep meds, documents, and a pen on your person.
– Move every 60–90 minutes and drink water.
– Use light and local time cues to fight jet lag.
– Be honest and calm with border officers.
Frequently Asked Questions
This Article in a Nutshell
Prepare weeks ahead: confirm entry rules and complete DS-160 if needed. Pack a Flight Essentials Pouch, choose an aisle seat, move every 60–90 minutes, and be ready for immigration, biometrics, and customs. Activate your eSIM on arrival and get sunlight to reset your clock.


